Using Piwigo, common way to add photos is by going through admin back office session. That way you must give full admin access to all contributors who need then to learn how to use it.
A most easy way to make visitors be able to add photos is to use community plug-in.
This post is about the end user way to add photos once every boiling plate has been done in the back office.
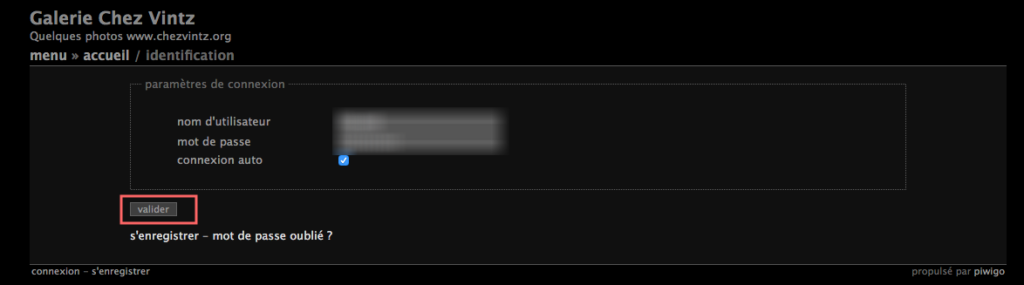
Once your are into your Piwigo Gallery, you have to connect with your visitor account. At that step, it is mostly probable you can only see the public albums of the Gallery. Here only the cartoon part.
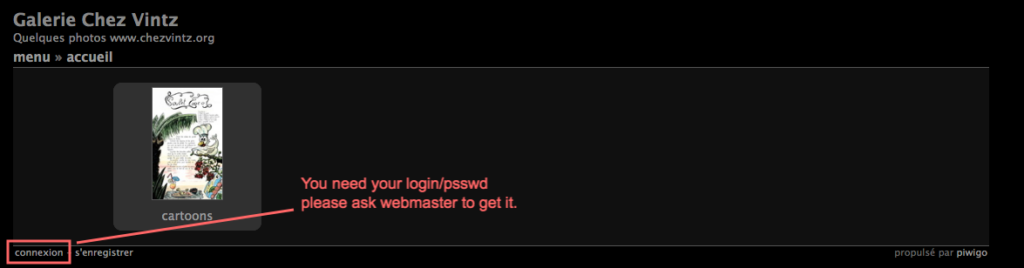
Depending the Gallery setup, you can either get your login/psswd by an on-line subscription or directly from the webmaster. Keep in mind that any way, your account must be allowed by the webmaster to access specific parts of the Gallery.
At that step you are able to see all the albums your visitor accreditation allow.
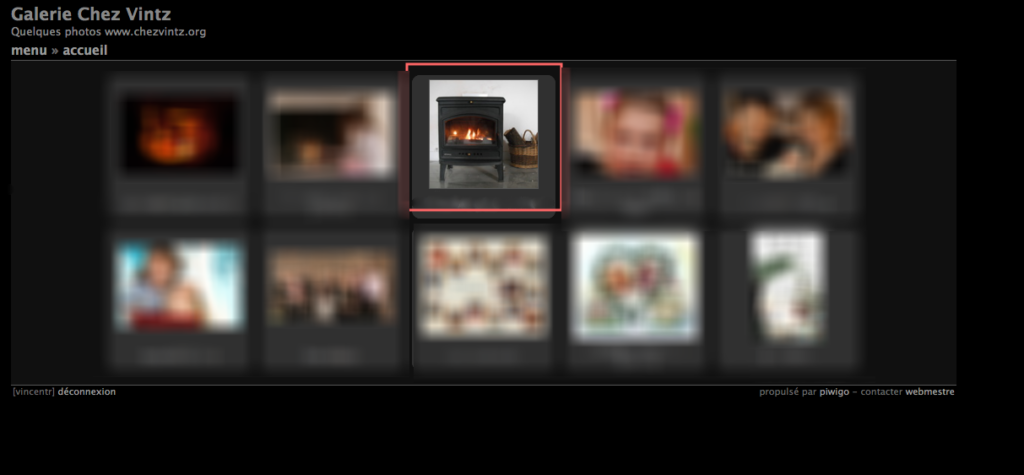
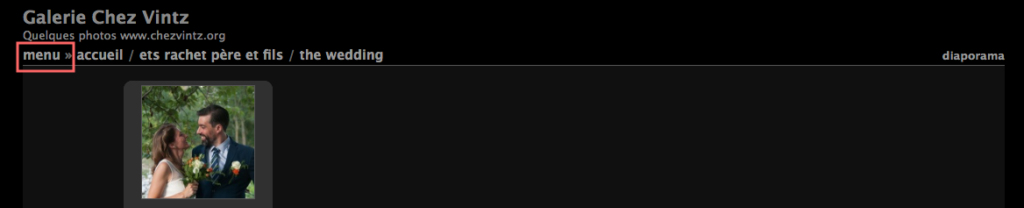
Just navigate into the albums tree until you reach the one you want to modify. Here you are !
In order to be able to access the menu you must click on « menu ».
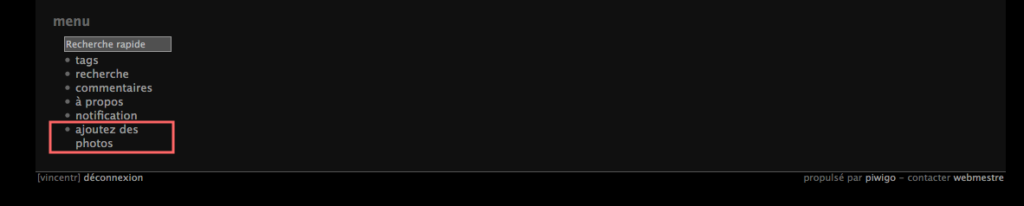
If you have got the right level of accreditation you are supposed to seen « Ajouter des photos » or something like « Upload photos ». It depend on the preset language.
Note that some Galleries allow you to change language directly into the menu bar. Thanks to the language switch plugin.
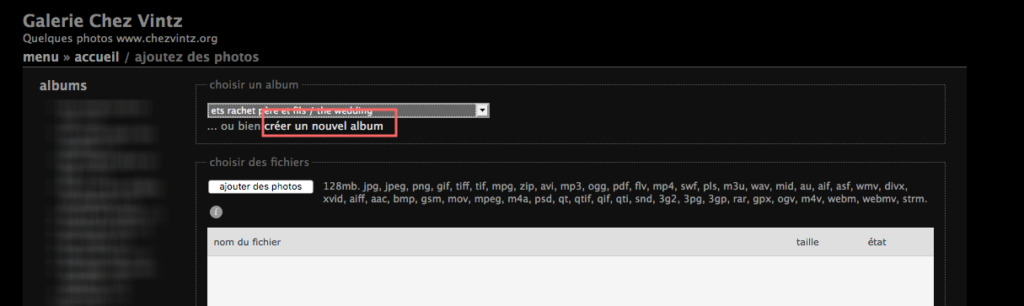
Here you can either choose :
- to add a new sub album. The dropbox allows you to choose the parent album.
- to directly upload photos.
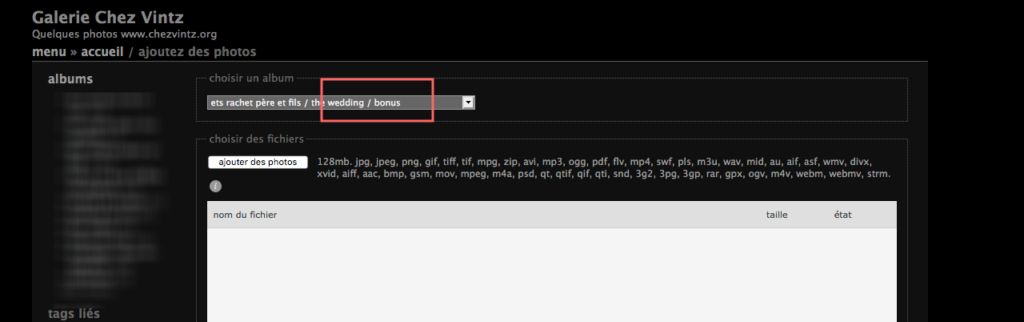
In our case, we add a new « Bonus » album into the wedding’s gallery.
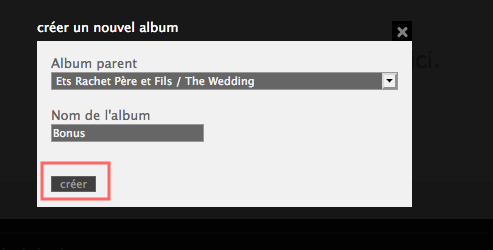
Here you are. The sub album is created. You can see it into the album’s tree. In case of mistake, don’t worry. Just continue, your upload, the webmaster will be able to move it later on.
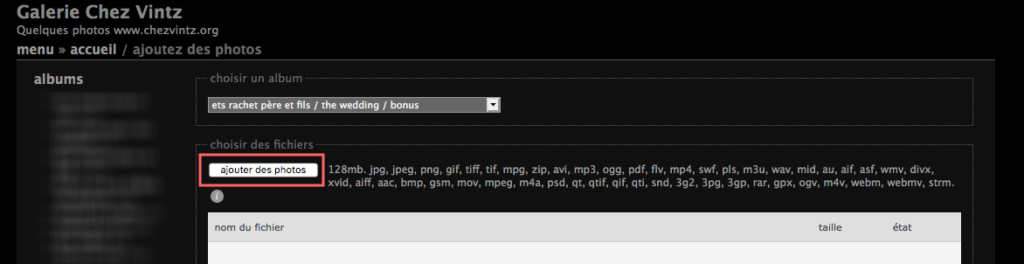
From that point, by clicking « add photos », you will get the standard file explorer menu depending your OS. Let just select pictures. You can off course choose a multi selection in order to add more than one photos at a time.
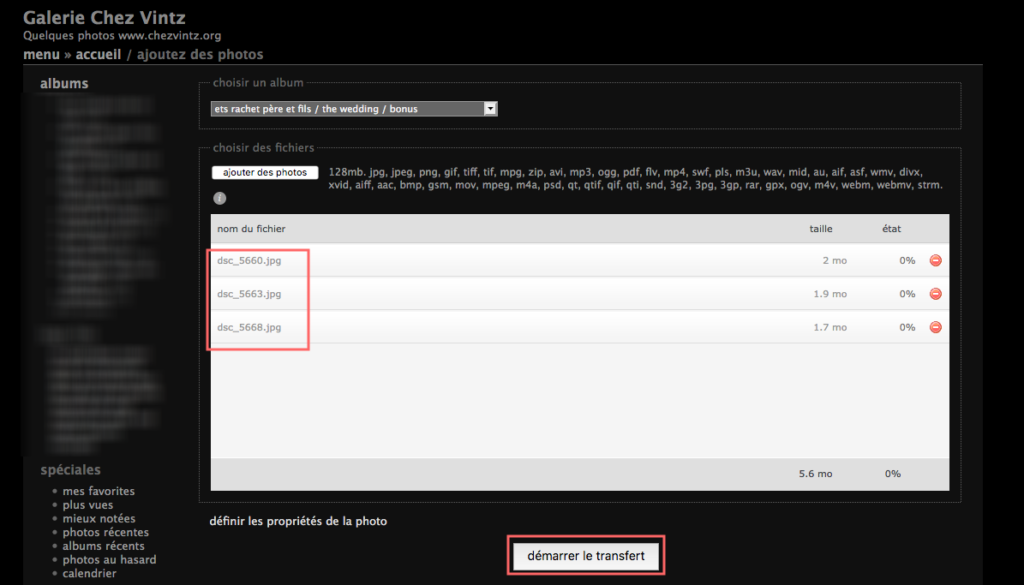
You will seen a list of candidates to be upload. Not that usually size of photos are limited. usually to 2Mo or 3Mo.
You must now click on « Start upload » button.
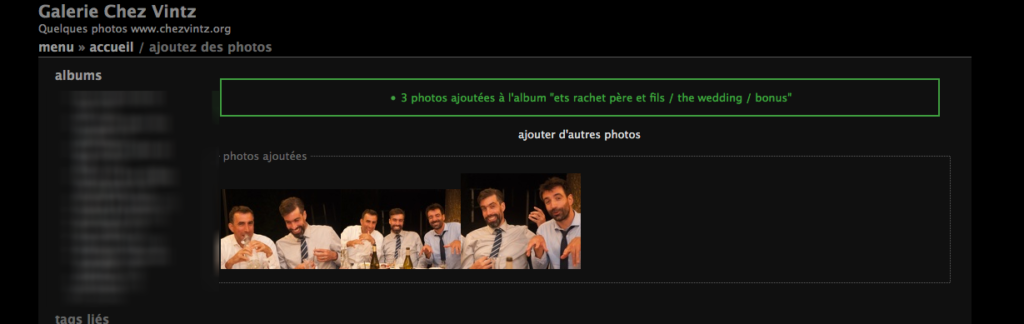
Depending your connection rate, photo upload can take a while. Normally you can see below the up loaded photos.
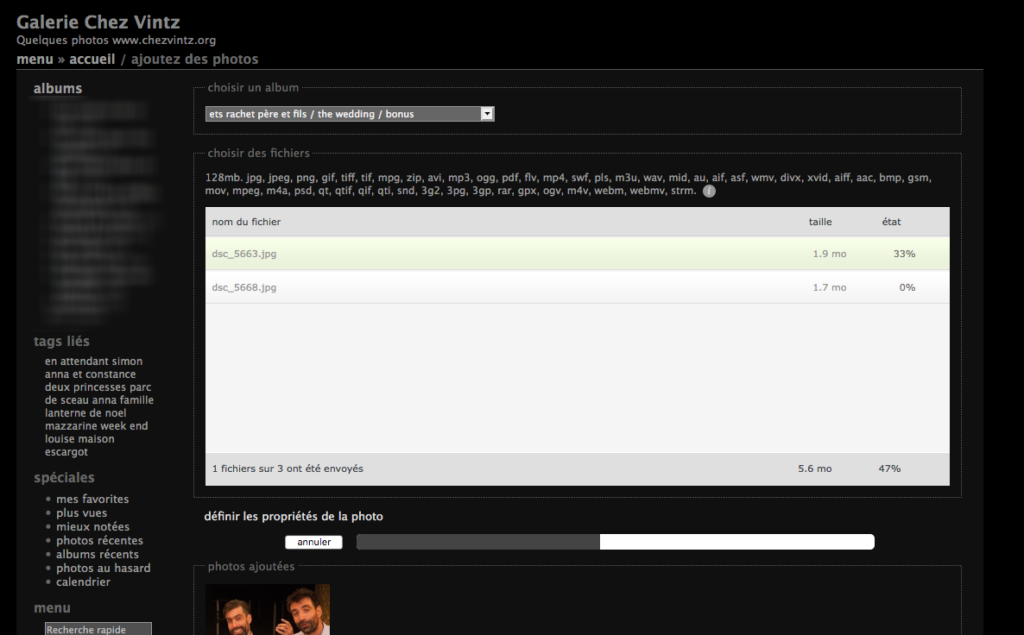
Done. You successfully upload your photos. You are then back into the newly created sub album.
Congratulations.